10 Critical Performance Optimization Steps You Should Take
As the web continues to evolve, performance is starting to become more and more important. Content-heavy web applications like Facebook or Instagram are dealing with megabytes of data. They provide rich user experiences that require heavy scripting in the background — all this at the cost of performance.
But why you should care if your page takes three seconds to load instead of one? It’s not that much of a difference, is it? Why is it essential to optimize performance and reduce load times? And what can we do about it?
Let’s first see the why and then we’ll see the how.

Why Performance Matters
We ideally want to provide the best user experience. Visitors expect a site to be snappy and responsive. They want it to load instantly. If your site takes too long to load, people won’t wait around long before they start to abandon it. Poor performance — because of extra network traffic — can also mean increased costs for users with a limited data plan.
Another reason is improved conversions. Case studies shared on Web Fundamentals show that performance can have a serious positive impact:
“Pinterest increased search engine traffic and sign-ups by 15% when they reduced perceived wait times by 40%.”
But it can also have some serious negative effects:
“The BBC found they lost an additional 10% of users for every additional second their site took to load.”
This is why we must take some time to improve page load speed and performance. So let’s see how we can achieve that.
How Performance Should Be Measured
Before starting to address the problems, we need to know how we can measure changes. There are two things you should keep in mind when dealing with performance improvements:
- Always start with an audit. It creates a baseline and provides you with helpful tips on where to improve.
- Make one change at a time, then measure. Verify changes individually to measure if they indeed give you better performance.
With this in mind, let’s see the list. Everything starts on the server. We can make huge improvements before we even get our assets.

Server-Side Optimizations
Configure compressions
If you haven’t already, enable server-side compression. This can greatly reduce the size of HTTP responses and has the most impact. Compress as many file types as possible. The only exceptions from this rule are some static assets, such as images, fonts, or PDF files. They are already compressed. Trying to compress them will only waste CPU resources, and in some cases, it can even increase file sizes.
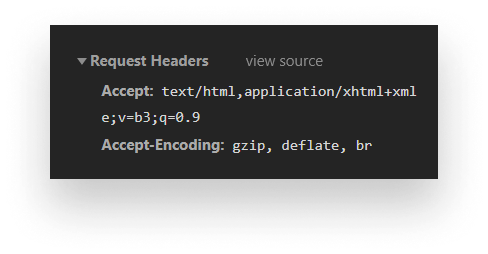
To see which type of compression your server supports, go to the Network tab in DevTools. Inspect the Accept-Encoding header in a request and you’ll see all available options:
According to a benchmark test done by Akamai, Brotli seems to be a better option over gzip. They tested 1,000 websites and found that Brotli outperformed gzip by a median of 21%.
Minimize HTTP requests
While compression can save significant amounts of data, you can further cut down page load times by minimizing the number of HTTP requests. Some common techniques you can use are:
- Bundling your assets together. Combine JavaScript and CSS files to reduce the number of requests. If your bundle sizes are too large and you’d rather split them into smaller chunks, you can also experiment with domain sharding.
- Use sprites. With sprites, you can deliver multiple images in one single request. You can then reference individual images by using the
background-positionproperty in CSS.
Use a CDN
Using a content delivery network can help you reduce response times. A CDN is a collection of servers distributed across the globe. It aims to help deliver content to users faster by choosing the server closest to the user’s location.

Use a Cache-Control header
Cache each resource to avoid unnecessary network trips. For static assets that rarely change — like images or fonts — you can use a long expiry date in the far future. For other resources, you can use an appropriate Cache-Control header. The time should depend on the frequency of your changes. The more frequently your assets change, the shorter your caches should be.
Avoid too many redirects
Remember that redirects (301, 302) delay everything and slow down page load. Redirects most commonly occur when a trailing slash is missing from the URL. This causes the web page to reload everything with the correct URL.
Now let’s move on to client-side optimizations and see how we can further improve things.
Client-Side Optimizations
When it comes to client-side optimization, we have some common strategies that we can use for all types of assets. These include things like compression/minification and bundling. You should implement both as part of your release process.
Optimize HTML
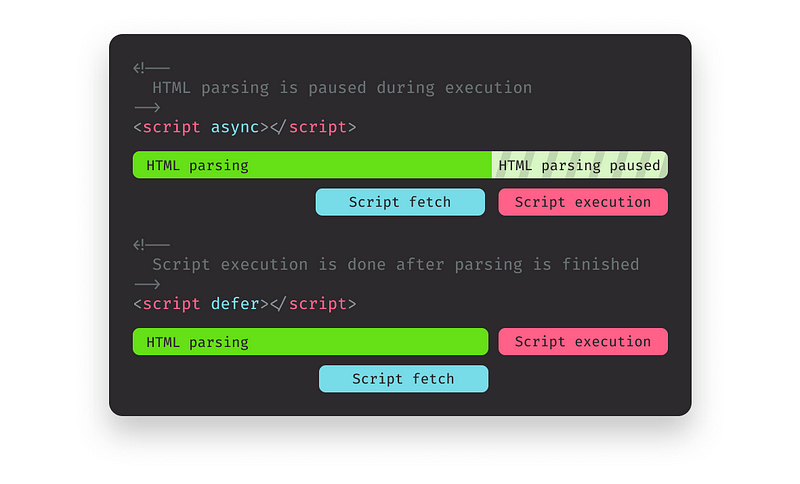
- Keep your script at the bottom: Keeping your JavaScript files in the
headblocks HTML parsing. You can improve perceived performance by placing them before the closing of the body tag. You can also experiment with theasync/deferattributes.
- Use external resources: This may sound obvious, but it is not uncommon for large applications. Make use of caching by placing all of your resources in external files. This includes snippets like tracking scripts. Inline styles and scripts get downloaded every time the HTML is requested.
- Reduce the number of DOM elements: The more DOM elements you have, the more bytes you’re going to download. This also means that accessing your DOM through JavaScript will become slower. Get rid of wrappers. You can count the number of DOM elements on your page with the following snippet:
document.querySelectorAll('*').lengthOptimize CSS
- Reduce the complexity of your selectors: Usually, as a project grows, so does the complexity of selectors. However, try to avoid complex selectors. Use extra classes instead.
// Instead
.class:nth-last-of-type(3n+0) { ... }

// Do
.class--special { ... }- Avoid changes to layout: Changes to properties that affect an element’s dimensions or position — such as width, height, or left and right— trigger layout changes that can further slow load times.
.card {
    height: 200px;
}

// Changing height triggers layout
.card--tall {
    height: 400px;
}- Reduce paint areas: Paint is the last step in the critical rendering path. Changes to layout or appearance can trigger repaints. Your paint areas can be larger than they need to be. You can promote animated elements to separate compositor layers to get some performance benefits. Only promote elements if you are certain they will improve performance.
To see which parts of a page are repainted, go to the Rendering tab and enable Paint flashing.

Optimize JavaScript
- Use web workers for complex calculations: JavaScript runs on the main thread in the browser. This means that long-running tasks can freeze up the page and block user interaction. If you have heavy computational work to do, do it inside a web worker. They run on a separate thread and are non-blocking. Note: You don’t have access to the DOM inside a web worker.
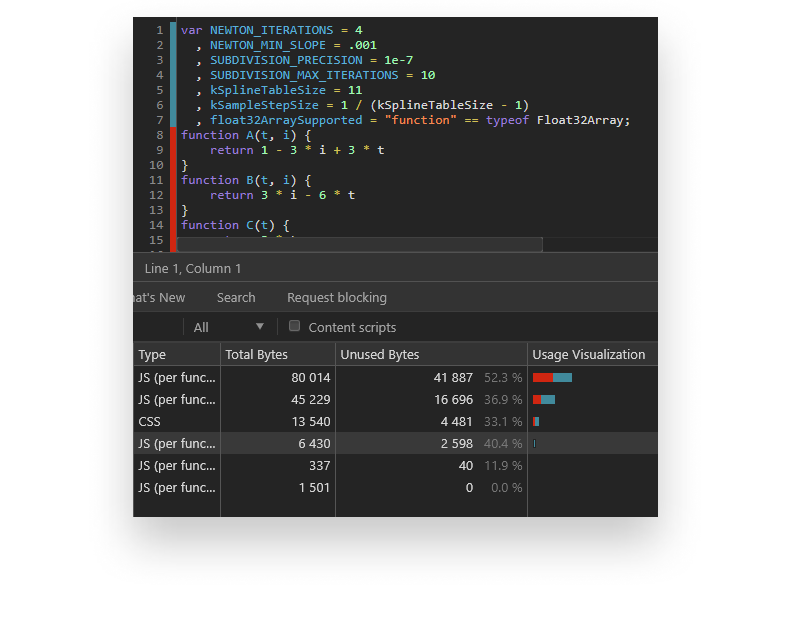
- Use the coverage tab: The coverage tab can be a powerful tool to see which code you truly need on your page load. Anything that you see in red is not executed right away. This means you can potentially defer and request it after loading has finished.
- Avoid micro-optimization: It may sound tempting to optimize everything you possibly can. It’s important to mention you’ll only save a fraction of a millisecond by doing so. And you may end up sacrificing readability and maintainability for performance. You are only an exception to this rule if you make video games or computation-heavy applications. In that case, every little counts.
Optimize images
- Use CSS in place of images: The best way to reduce the weight of images is to not use them. We often have complex UI elements with tiny design details. Think of chevrons, toggles, shadows, or patterns. Next time you develop something, ask yourself, “Can I achieve this using only CSS or glyphs?” If the answer is yes, then go with it.
- Use vector images: Vector images are resolution- and scale-independent, making them a good fit for visuals. They also have a smaller size as opposed to raster images. You can further reduce their size by minifying their XML markup. Since they are often generated with third-party apps, they can contain unnecessary metadata.
- Use the right raster format: Try to choose between the three main types:JPG, PNG, or GIF. If you need animated visuals, you are left with GIF. If you need to preserve fine details, you are left with PNG. For everything else, go with JPG.
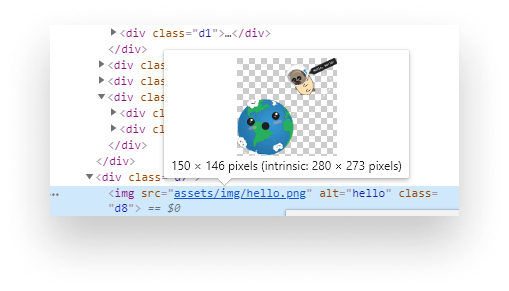
- Scale your images down: When displaying images, try to match their natural size with the final display size. If the max-width of the image will never be above 250px, then your dimensions shouldn’t be either.
Optimize fonts
- Minimize font usage: This is by far the most straightforward way to improve performance. Simply use fewer fonts. Although it may sound counterproductive, many websites use 5+ different font sets (including font variants). This not only hurts performance, but it also gives way to inconsistent design.
- Subset fonts: Many fonts come with multi-language support. If your site only uses the English alphabet, remove unused glyphs from your font set. They are unnecessary and only take up space.
- Preloading fonts: As a last effort, you can mark fonts as high-priority to tell browsers to request them as soon as possible. We can do this using
preloadon alinktag.
<link rel="preload" href="font.woff2" as="font" />Recommended Tools
I would like to close this article with some recommendations that can help you along the way. You can use them to audit your site and spot potential issues. You’ll also get useful tips on how to resolve them. All of the tools listed below are free to use.
Lighthouse
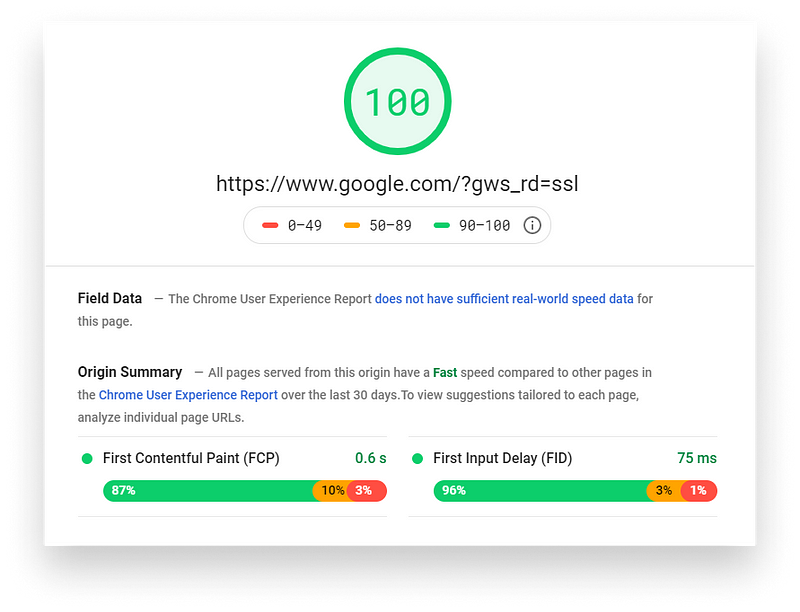
Lighthouse will probably be your first audit tool to use. It’s built right inside Chrome. You can reach it through the Audits tab. If you are not using Chrome, you can still use it online as the PageSpeed Insights tool on Google. If you also want to run audits for SEO or accessibility, web.dev will be the way to go.
webhint
webhint provides you with deep details not only on performance but other aspects as well, such as common pitfalls or security issues. You can run your audits through its official website. You can use it in VS Code, as a browser extension, or even integrate it into your release process through CLI. It also gives you the ability to write and enforce your own set of rules.

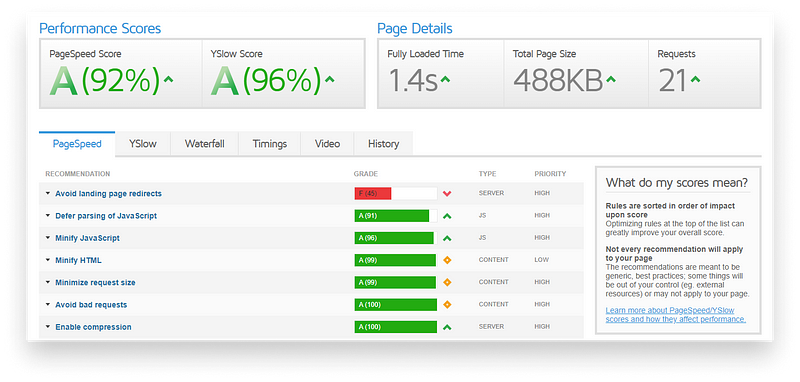
GTmetrix
Just like the previous two, GTmetrix helps you discover performance issues and provides you with optimization opportunities. It generates a report for you with the most impactful issues at the top.
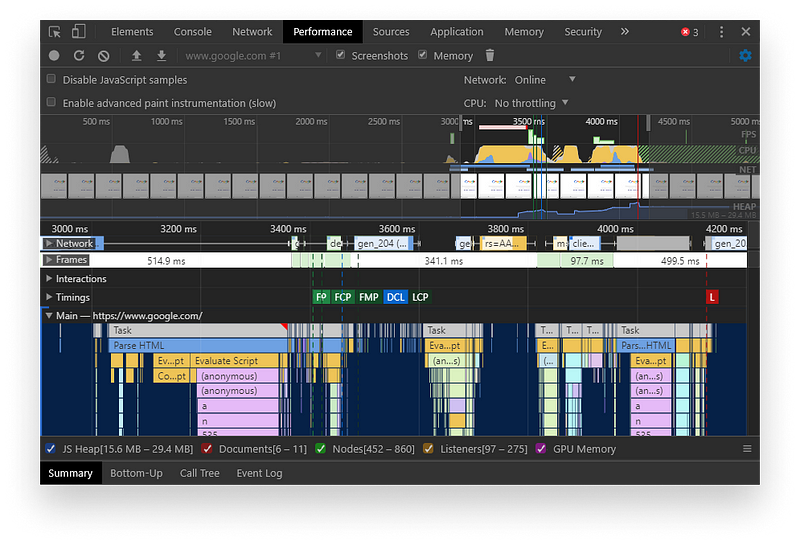
Performance tab
The Performance tab in Chrome lets you analyze runtime performance. It provides you with all sorts of details, ranging from FPS drops to long-running scripts and how long it takes your site to render and paint everything.
Performance API
Lastly, to benchmark your JavaScript code you can use the Performance API. It provides you with a means of calculating how long it takes for your code to run. Previously, we could use console.time and console.timeEnd. However, performance gives more accurate results. Take the following code as an example:
performance.mark('startMeasurement');

for (let i = 0; i < 1_000_000; i++) {
    let calc = Math.sqrt(i);
}

performance.mark('endMeasurement');

// With measure() we can create a new entry
performance.measure('record', 'startMeasurement', 'endMeasurement');

// This will give you a PerformanceMeasure object
// with the following properties
console.log(performance.getEntriesByName('record'));

// Returns:
// Where duration tells us how long it took for the loop to run
{
    detail: null,
    name: "record",
    entryType: "measure",
    startTime: 414557.83500001417,
    duration: 5.26999999419786
}Conclusion
If you go through all steps mentioned above and fix any issues brought up by your audits, your site’s performance will be through the roof. If you would like to see more performance tips, check out my performance checklist on the link below:
The Performance Checklist on GitHub
What are some common performance pitfalls you come across from time to time? Let us know in the comments! Thanks for taking the time to read this article, happy debugging!

Rocket Launch Your Career
Speed up your learning progress with our mentorship program. Join as a mentee to unlock the full potential of Webtips and get a personalized learning experience by experts to master the following frontend technologies:
Courses


Recommended

An Easy Way to Understand Recursion in JavaScript
How You Can Schedule Tasks in Node