How to Improve Data Fetching in React With Suspense?
When dealing with components in React, we often find ourselves introducing additional logic to handle different states based on the availability of data. With the introduction of <Suspense> from React 16.6, this extra logic may not be needed anymore.
Although it is still in experimental phase, the feature will let you provide fallback options by simply wrapping your components inside of a <Suspense> component.

Let’s See a Comparison
Previously, you had to write your components in a similar way, to avoid running into errors:
function TodoList() {
    ...

    if (!todos.length) {
        return <p>Loading todos...</p>;
    }

    return (
        <ul>
            {todos.map(todo => (
                <li key={todo.id}>{todo.text}</li>
            ))}
        </ul>
    );
}You first must provide an if statement to check if the data that you wish to use is already available. This is where you would render a loading indicator. When the data arrives, the heart of the component can be rendered.
With the use of <Suspense>, this translates to roughly the following:
function App() {
    return (
        <Suspense fallback={<Loading />}>
            <TodoList />
        </Suspense>
    );
}

function TodoList() {
    return (
        <ul>
            {todos.map(todo => (
                <li key={todo.id}>{todo.title}</li>
            ))}
        </ul>
    );
}You’ve got rid of the extra logic and instead, you can use an additional component with a fallback attribute. This is where you can provide a component to render as long as the data is unavailable.
Trying Out Suspense
Let’s start from scratch with an empty create-react-app project and see what you will need to try out Suspense. I’ve also got rid of everything inside App.js apart from .App and .App-header to keep the styles.
import React from 'react';
import './App.css';

function App() {
    return (
        <div className="App">
            <header className="App-header">
                {/* We will use suspense inside this component */}
            </header>
        </div>
    );
}

export default App;To work with Suspense, we need to first understand how does it work. Suspense uses error boundaries to catch thrown promises. Error boundaries let you catch errors in the component tree to prevent errors from crashing your whole application. The same happens in Suspense.
When a promise is thrown, a Suspense component catches it to render a loading state as long as the promise is not resolved. Because of this, we will need to implement a custom function that will throw promises. So let’s start by creating a file that will take care of the API calls for us.
Creating a suspend function
I’m using jsonplaceholder for this tutorial, to request 200 todo items. First, we need a function that fetches the items. Create an Api.js file inside your src folder and add the following fetch call:
const getTodos = () => fetch('https://jsonplaceholder.typicode.com/todos')
.then(response => response.json());Now we need to wrap this call into a function that will
- throw the returned promise whenever the promise is pending
- throw the actual return value whenever the promise is resolved or rejected
For this, I’ve created a function called suspend.
const suspend = promise => {
    let result;
    let status = 'pending';
    const suspender = promise.then(response => {
        status = 'success';
        result = response;
    }, error => {
        status = 'error';
        result = error;
    });
}It has three different variables:
resultwill be the return value of the promise once it has been resolved. This is what the function will eventually return.statusis used to tell the status of the passed promise. We will later make use of it to decide whether we want to throw the promise (on line:4) or return the result.suspenderis the actual function that resolves or rejects the passed promise to this function.
We want this function to return a function — that we can call to start fetching the data — and throw either a promise or return the result from the promise. Extend it with the following lines:
 const suspend = promise => {
     let result;
     let status = 'pending';
     const suspender = promise.then(response => {
         status = 'success';
         result = response;
     }, error => {
         status = 'error';
         result = error;
     });

+    return () => {
+        switch(status) {
+            case 'pending':
+                throw suspender;
+            case 'error':
+                throw result;
+            default:
+                return result;
+        }
+   };
}We can do that with a simple switch statement. In case the promise is still pending, we can throw the suspender function (which is a promise). If we happen to have an error, we throw that with result — since we passed the error to result on line:9. If none of the above happens, it means the promise is resolved successfully, so we can return the result. All that’s left to do is to export this function and import it into our App.js component.
export default suspend(getTodos());We pass the fetch call to the suspend function. This will export a function that when called, will switch between the different states of the promise.
Using the suspend function
Back to App.js, import the todos from Api.js:
import todos from './Api.js';When we call this function, it will start fetching the resource and throw a promise as long as it is pending. To use it, create a new function component called TodoList, and assign the resource to a todoList variable:
function TodoList() {
    const todoList = todos();

    return (
        <ul>
            {todoList.map(todo => (
                <li kes={todo.id}>{todo.title}</li>
            ))}
        </ul>
    )
}The return value of this will be the list of todos. We can do a map on this and display them like we would do without Suspend. By the time this component gets called, the promise will be resolved and todos() will be an array with 200 items. Because of this, we don’t need to add preconditions to check if the data is available.
If you try to call this component inside your App component without Suspense:
function App() {
    return (
        <div className="App">
            <header className="App-header">
                <TodoList />
            </header>
        </div>
    );
}You will run into errors. This is because the component throws a promise that you don’t catch in your application. The error message is pretty straightforward too.

By changing the above code to the following, the error will be resolved.
function App() {
    return (
        <div className="App">
            <header className="App-header">
                <Suspense fallback={<p>Loading...</p>}>
                    <TodoList />
                </Suspense>
            </header>
        </div>
    );
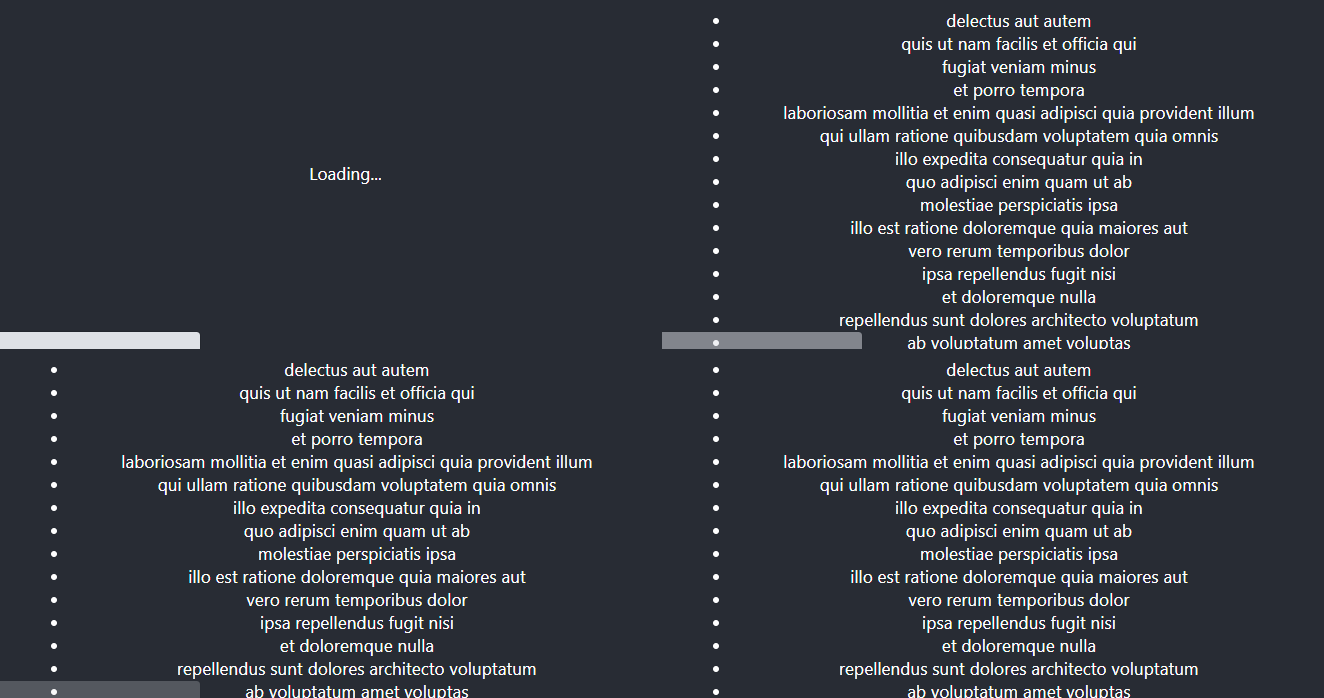
}If you have a look at your application, the error message is now gone and you should see the “Loading…” message appear for a split second before you are greeted with the list of todos.

You can also enable throttling in your Network tab to slow things down and be able to see the different states of the application for a longer period of time.


Summary
In summary, Suspense in React provides a great way to get rid of some extra logic from your components and be more declarative when it comes to waiting for data availability.
As mentioned in the beginning, Suspense is still an experimental feature. This means the API can change drastically and without any warning which can break your application. Therefore, you should avoid using it in production builds. This, however, shouldn’t stop you from trying it out in your local environment to see the future of React.
Thank you for taking the time to read through, happy coding!

Rocket Launch Your Career
Speed up your learning progress with our mentorship program. Join as a mentee to unlock the full potential of Webtips and get a personalized learning experience by experts to master the following frontend technologies:


