How to Set Up Protected Routes in Your Svelte Application
Svelte has taken the world by storm since its version 3 release in 2019, and it’s growing in popularity. Since then, many Svelte libraries have popped up, one of them is svelte-routing, which provides easy means to create routes in a similar manner to React.
In this tutorial, we are going to take a look at how you can use it to create protected routes to prevent unauthorized access to certain pages in your Svelte application.

Setting Up the Project
To set up a new Svelte project, you can use the following command:
npx degit sveltejs/template svelte-protected-routes
Or you can download and extract the zip file from svelte.dev:
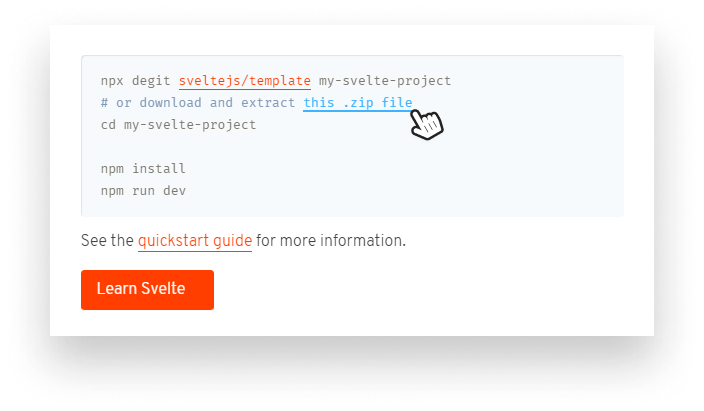
As noted at the beginning, we are going to make use of svelte-routing. To install it, run npm i svelte-routing. You can also remove everything from the src folder as we are going to start everything from scratch. Only leave an empty App.svelte, and your main.js.
import App from './App.svelte';

const app = new App({
    target: document.body
});

export default app;Adding Routes to Your App
If you start up your web server by running npm run dev, you should see an empty document. To add new routes to your Svelte app, add the following to your App.svelte:
<script>
    import { Router, Route } from 'svelte-routing';
    import ProtectedRoute from './ProtectedRoute.svelte';

    import Home from './routes/Home.svelte';
    import Dashboard from './routes/Dashboard.svelte';
</script>

<Router>
    <Route path="/" component={Home} />
    <ProtectedRoute path="/dashboard" component={Dashboard} />
</Router>First, import two components from svelte-routing:
Router: This component is used for providing extra routing information to everyLinkandRoutecomponents inside it. Because of this, you need at least one top-levelRouterin your application.Route: This component specifies a route. It expects apathproperty that defines when your component — that is passed tocomponent— should be rendered.
I’ve also imported a custom ProtectedRoute component that we will use to protect pages from unauthorized access. At the moment, it does nothing, except renders a similar Route component, using the passed params:
<script>
    import { Route } from 'svelte-routing';

    export let path;
    export let component;
</script>

<Route path={path} component={component} />Lastly, for the sake of this tutorial, I’ve added two new dummy components inside a routes folder, one for a home page and one for the dashboard, both containing a single text:
<!-- for Home.svelte -->
<h1>👋 Welcome to the home page</h1>

<!-- for Dashboard.svelte -->
<h1>👋 Welcome to the dashboard</h1>If you try to go to /dashboard in your browser, you may get served a 404 page as it is trying to load a resource that is non-existent. To fix this and tell the server to always server the index.html no matter the route, change your package.json start script to the following:
"scripts": {
    "start": "sirv public --single"
}
Putting Protected Routes in Place
To implement protected routes, you want to put some form of authentication in place. It can be done in various ways, but for the sake of simplicity, we’re going to authenticate users based on the presence of a localStorage item, called token.
The following authentication method is unsafe and should not be used in a production environment. You should always verify users both on the client and server-side with robust, elaborate protection.
For this to work, we need to be able to reach the value globally throughout the app. It should be present in the global state. Luckily, in Svelte, this can be done pretty easily with the help of stores.
A store is a special type of object that has a subscribe method. It allows interested components to listen to the store and react to changes when it is updated. To create a new store, add a stores.js file to the root of your src folder with the following:
import { writable } from 'svelte/store';

export const token = writable(localStorage.getItem('token'));This will export a writeable store with the value of the token item in localStorage. To use this value for authentication, update your ProtectedRoute component with the following:
<script>
    import { Route, Link } from 'svelte-routing';
    import accessDenied from './routes/accessDenied.svelte';
    import { token } from './stores.js';

    export let path;
    export let component;

    $: isAuthenticated = $token;
</script>

{#if isAuthenticated}
    <Route path={path} component={component} />
{:else}
    <Route path={path} component={accessDenied} />
{/if}Here we can import the token we exported from stores.js, and use it as a reactive variable. If the user is authenticated, we’re good to render the requested page, otherwise, we can throw a 403. The 403 page, in this case, can render a link back to a safe place; the home page:
<script>
    import { Link } from 'svelte-routing';
</script>

<h1>No access 🤕</h1>
<h2>
    Go back to <Link to="/">Home page</Link>
</h2>Updating the store
To update the store, let’s see how we can mock-login users through Home.svelte. Import Link and navigate from svelte-routing and implement the following function:
<script>
    import { Link, navigate } from 'svelte-routing';
    import { token } from '../stores.js';

    const login = () => {
        localStorage.setItem('token', '1');
        token.set(localStorage.getItem('token'));

        navigate('/dashboard', { replace: true });
    };
</script>

<h1>👋 Welcome to the home page</h1>
<h2>
    <Link to="dashboard">Go to Dashboard</Link>
</h2>
<span>or</span>
<h2>
    <span on:click={login}>Login</span>
</h2>Through this component, users can either go directly to the dashboard — without login, getting a 403 page — or click on the Login link, which executes the login function defined from line:5. It sets the localStorage, as well as updates the token. You can update the token — which is a writable store — through the set method. Once it is updated, the privateRoute component will gets notified.
Note that you can also trigger navigations programmatically if needed in svelte-routing with the navigate function. A common use-case is for triggering a redirection after a form submission.
Logging the user out
Now there’s only one thing left to do; log the user out once they are logged in. We can use a similar behavior, only this time, let’s use a simple Link for navigation:
<script>
    import { Link } from 'svelte-routing';
    import { token } from '../stores.js';

    const logout = () => {
        localStorage.clear();
        token.set(localStorage.getItem('token'));
    }
</script>

<h1>👋 Welcome {'{'}user{'}'}</h1>
<h2>
    <Link to="/" on:click={logout}>Logout</Link>
</h2>The logout function will simply clears the localStorage and resets the value for the token, notifying PrivateRoute about the change once again.

Summary
svelte-routing makes routing pretty convenient in Svelte. And with some additional logic, you can easily implement some form of authentication for your users. Please note once again, you should not rely on the exact authentication method for production environments, as basically anyone could log in by simply tinkering with localStorage through DevTools.
If you would like to play around with the project in one piece, you can get it from the GitHub repository below. Do you have any thoughts about the tutorial? Let us know in the comments below! Thank you for reading through, happy coding!
 Access 100+ interactive lessons
- Unlimited access to hundreds of tutorials
- Prepare for technical interviews
Courses


Recommended

How to Make Private Properties in JavaScript

What is Snowpack?